
 Help
Help- Help Home
- Equipment Installation
- Equipment Connection
- Web Services
- Use Process
- User Registration
- User Login
- Plug-in installation
- My-Cloud
- Media
- Message
- Configuration Management

Navigation
1. "My Cloud" shows some of the latest news, live video, and recent login recording;
2. "Media" can check the real time video, recorded video, and local pictures;
3. "Message" contains alarm messages, system messages, as well as the statistic report analysis for equipment;
4. "Configuration" can manage devices (adding or deleting), accounts (uploading a user image, changing passwords and user information), etc.;
Network Camera
Tips :
1. Before installing the camera, select a suitable location. The installation wall should at least be able to withstand three times the weight of the camera.
2. The Memory card is Micro SD card. The Camera supports a maximum capacity of 32GB (Users should buy according to their needs). Plug in the SD card before having the power on.
3. After the SD card has been installed and camera working properly, users can initialise the SD card under the My Cloud. For equipment installation see the Operating Instructions.
Digital Video Recorder
Tips :
1. Select a suitable recommended hard disk for DVR.
2. After booting, the system will format the hard disk. The data on hard disk may be lost completely after formatting.
Equipment installation (see Operating Instructions)
Network Video Recorder
Tips:
1. Select the suitable recommended hard disk for NVR.
2. After booting, the system will format the hard disk. The data on hard disk may be lost completely after formatting.
Equipment installation (see Operating Instructions)
Equipment installation (see Operating Instructions)
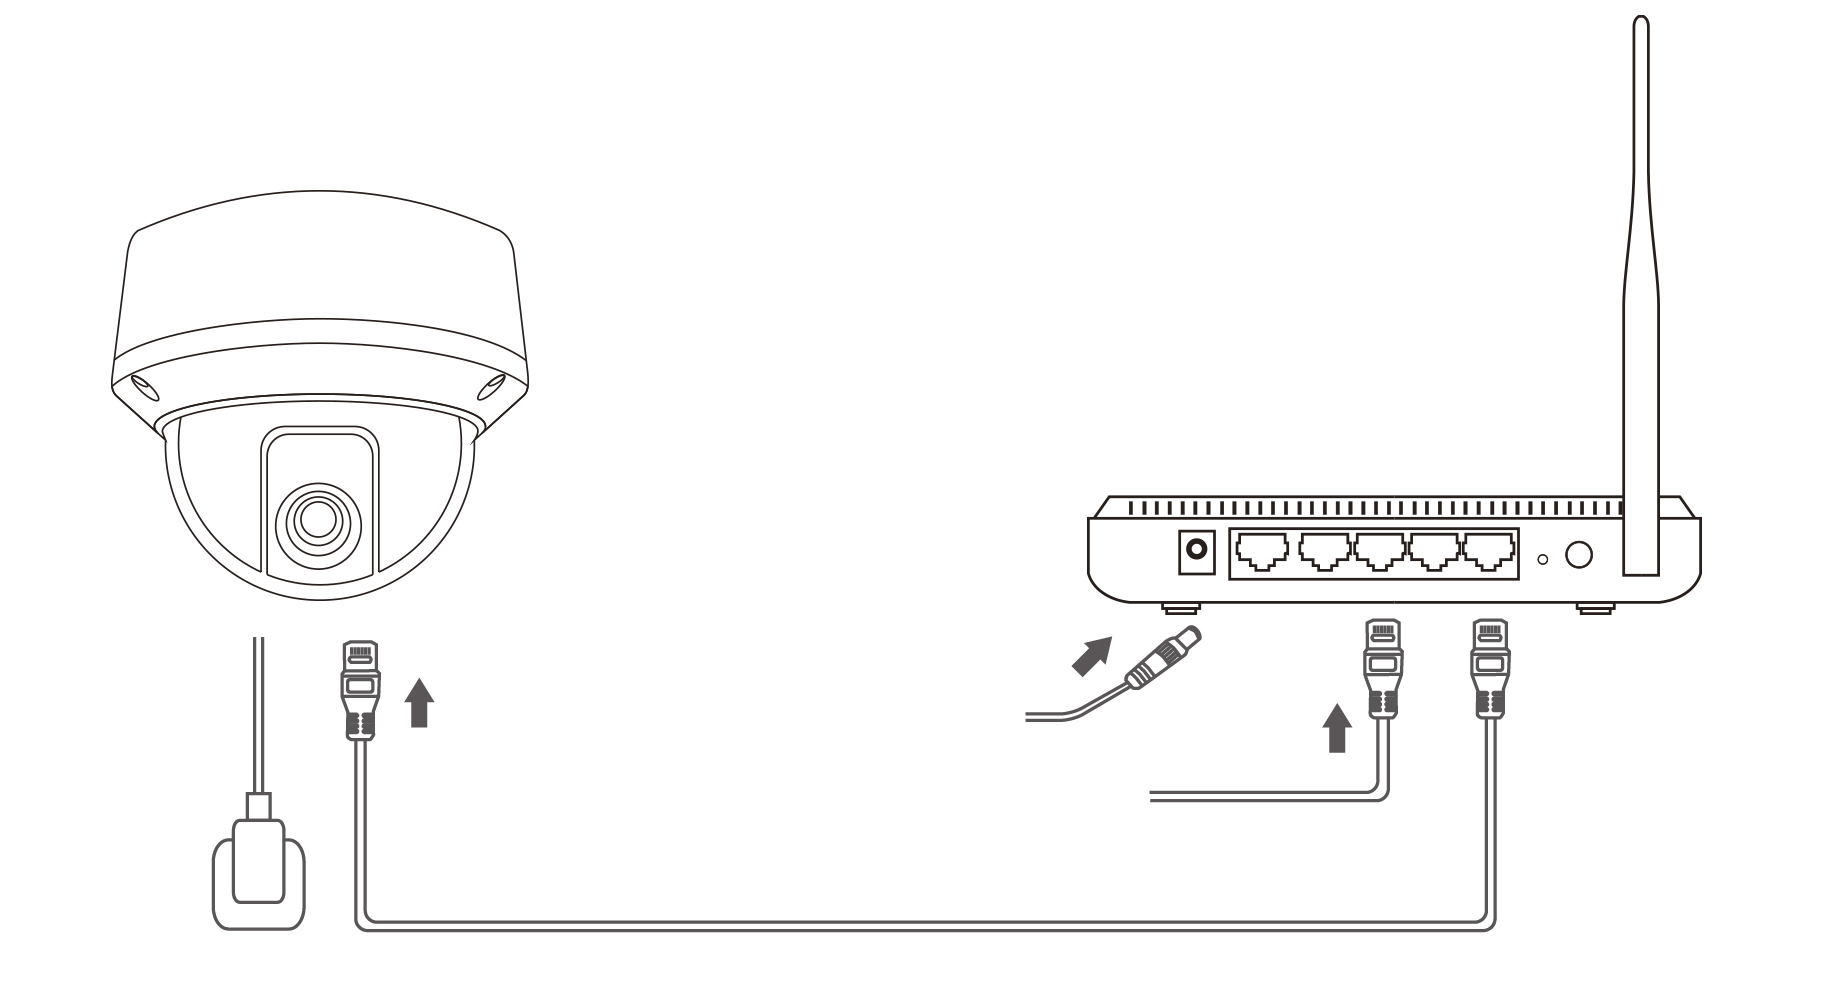
1.1 Network cameras (IP camera connects to network directly)
1.1.1 Connect with cable
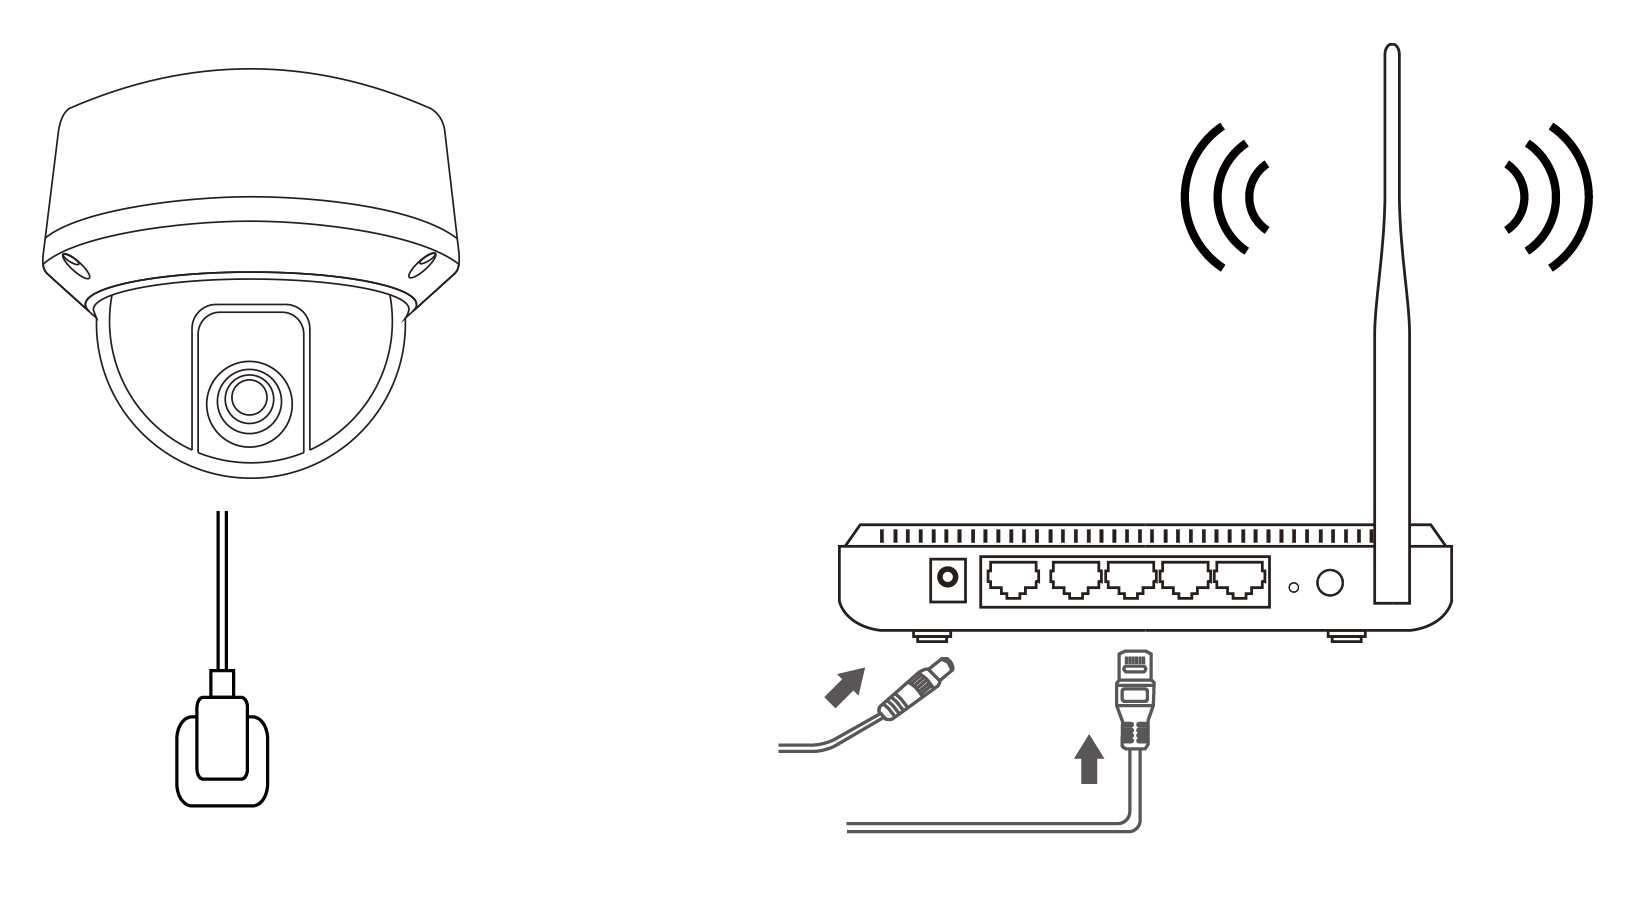
1.1.2 Connect with WIFI
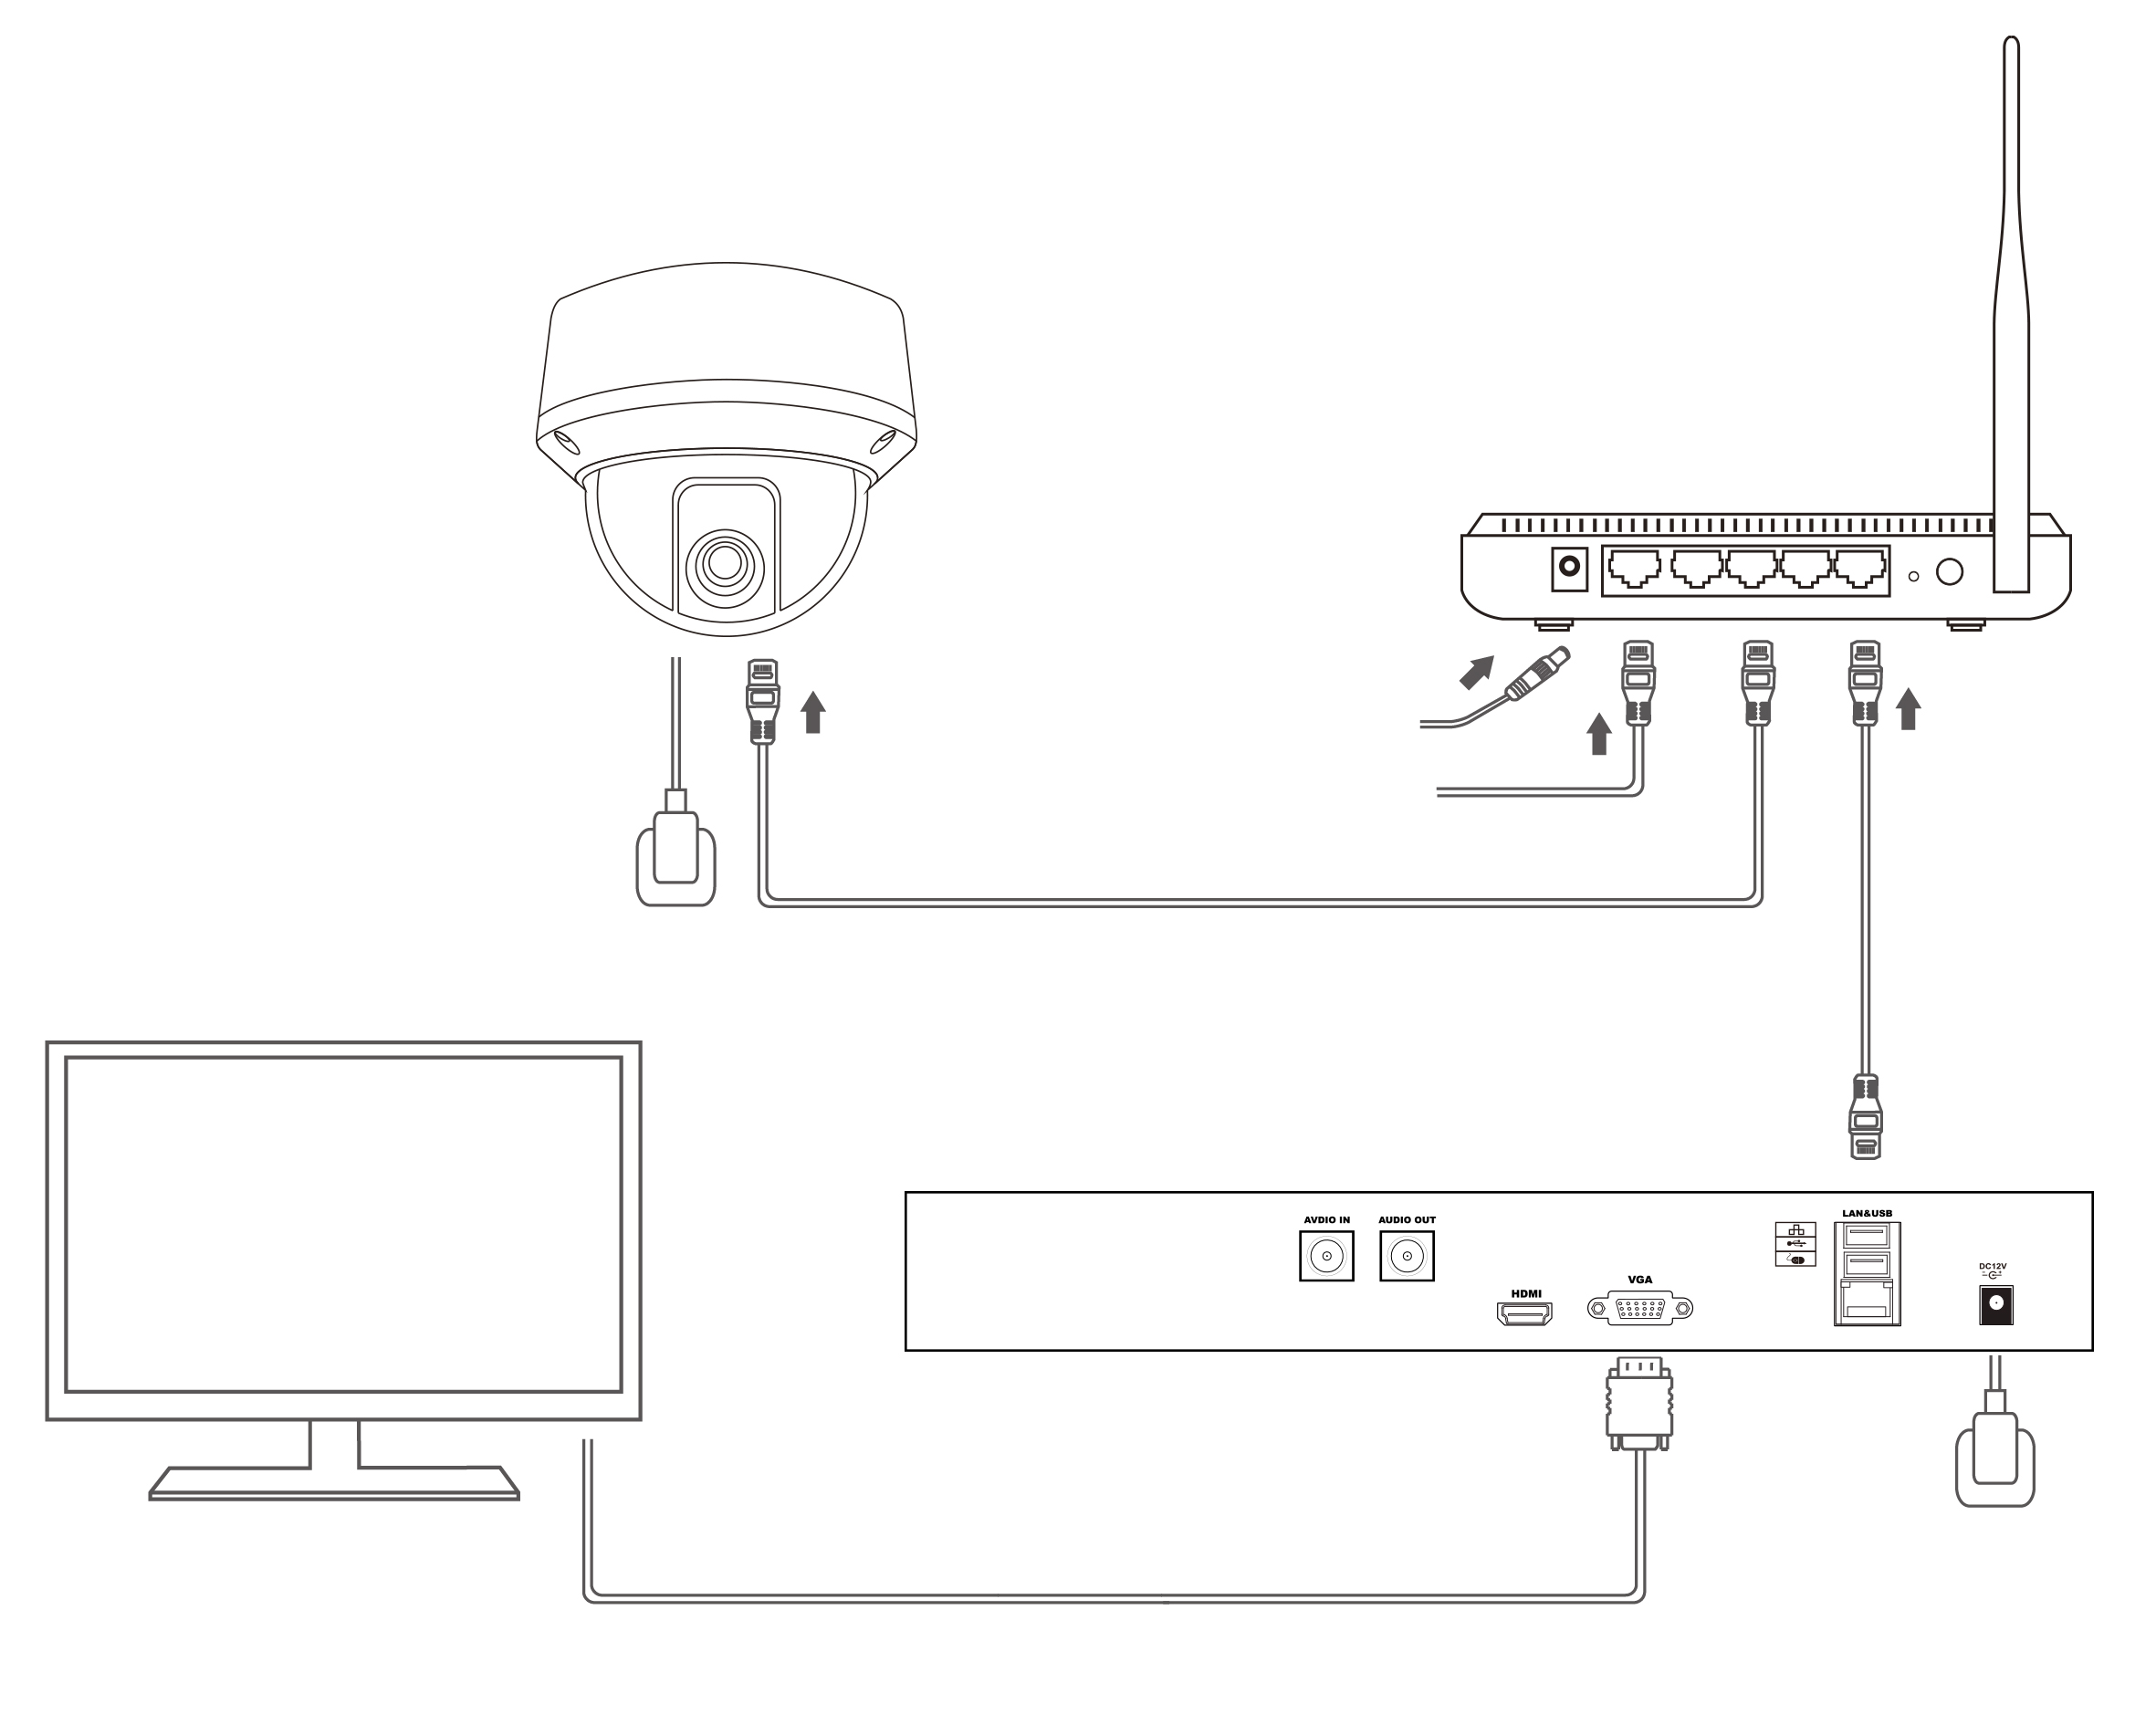
1.2 Network video recorders (NVR work with IP cameras)
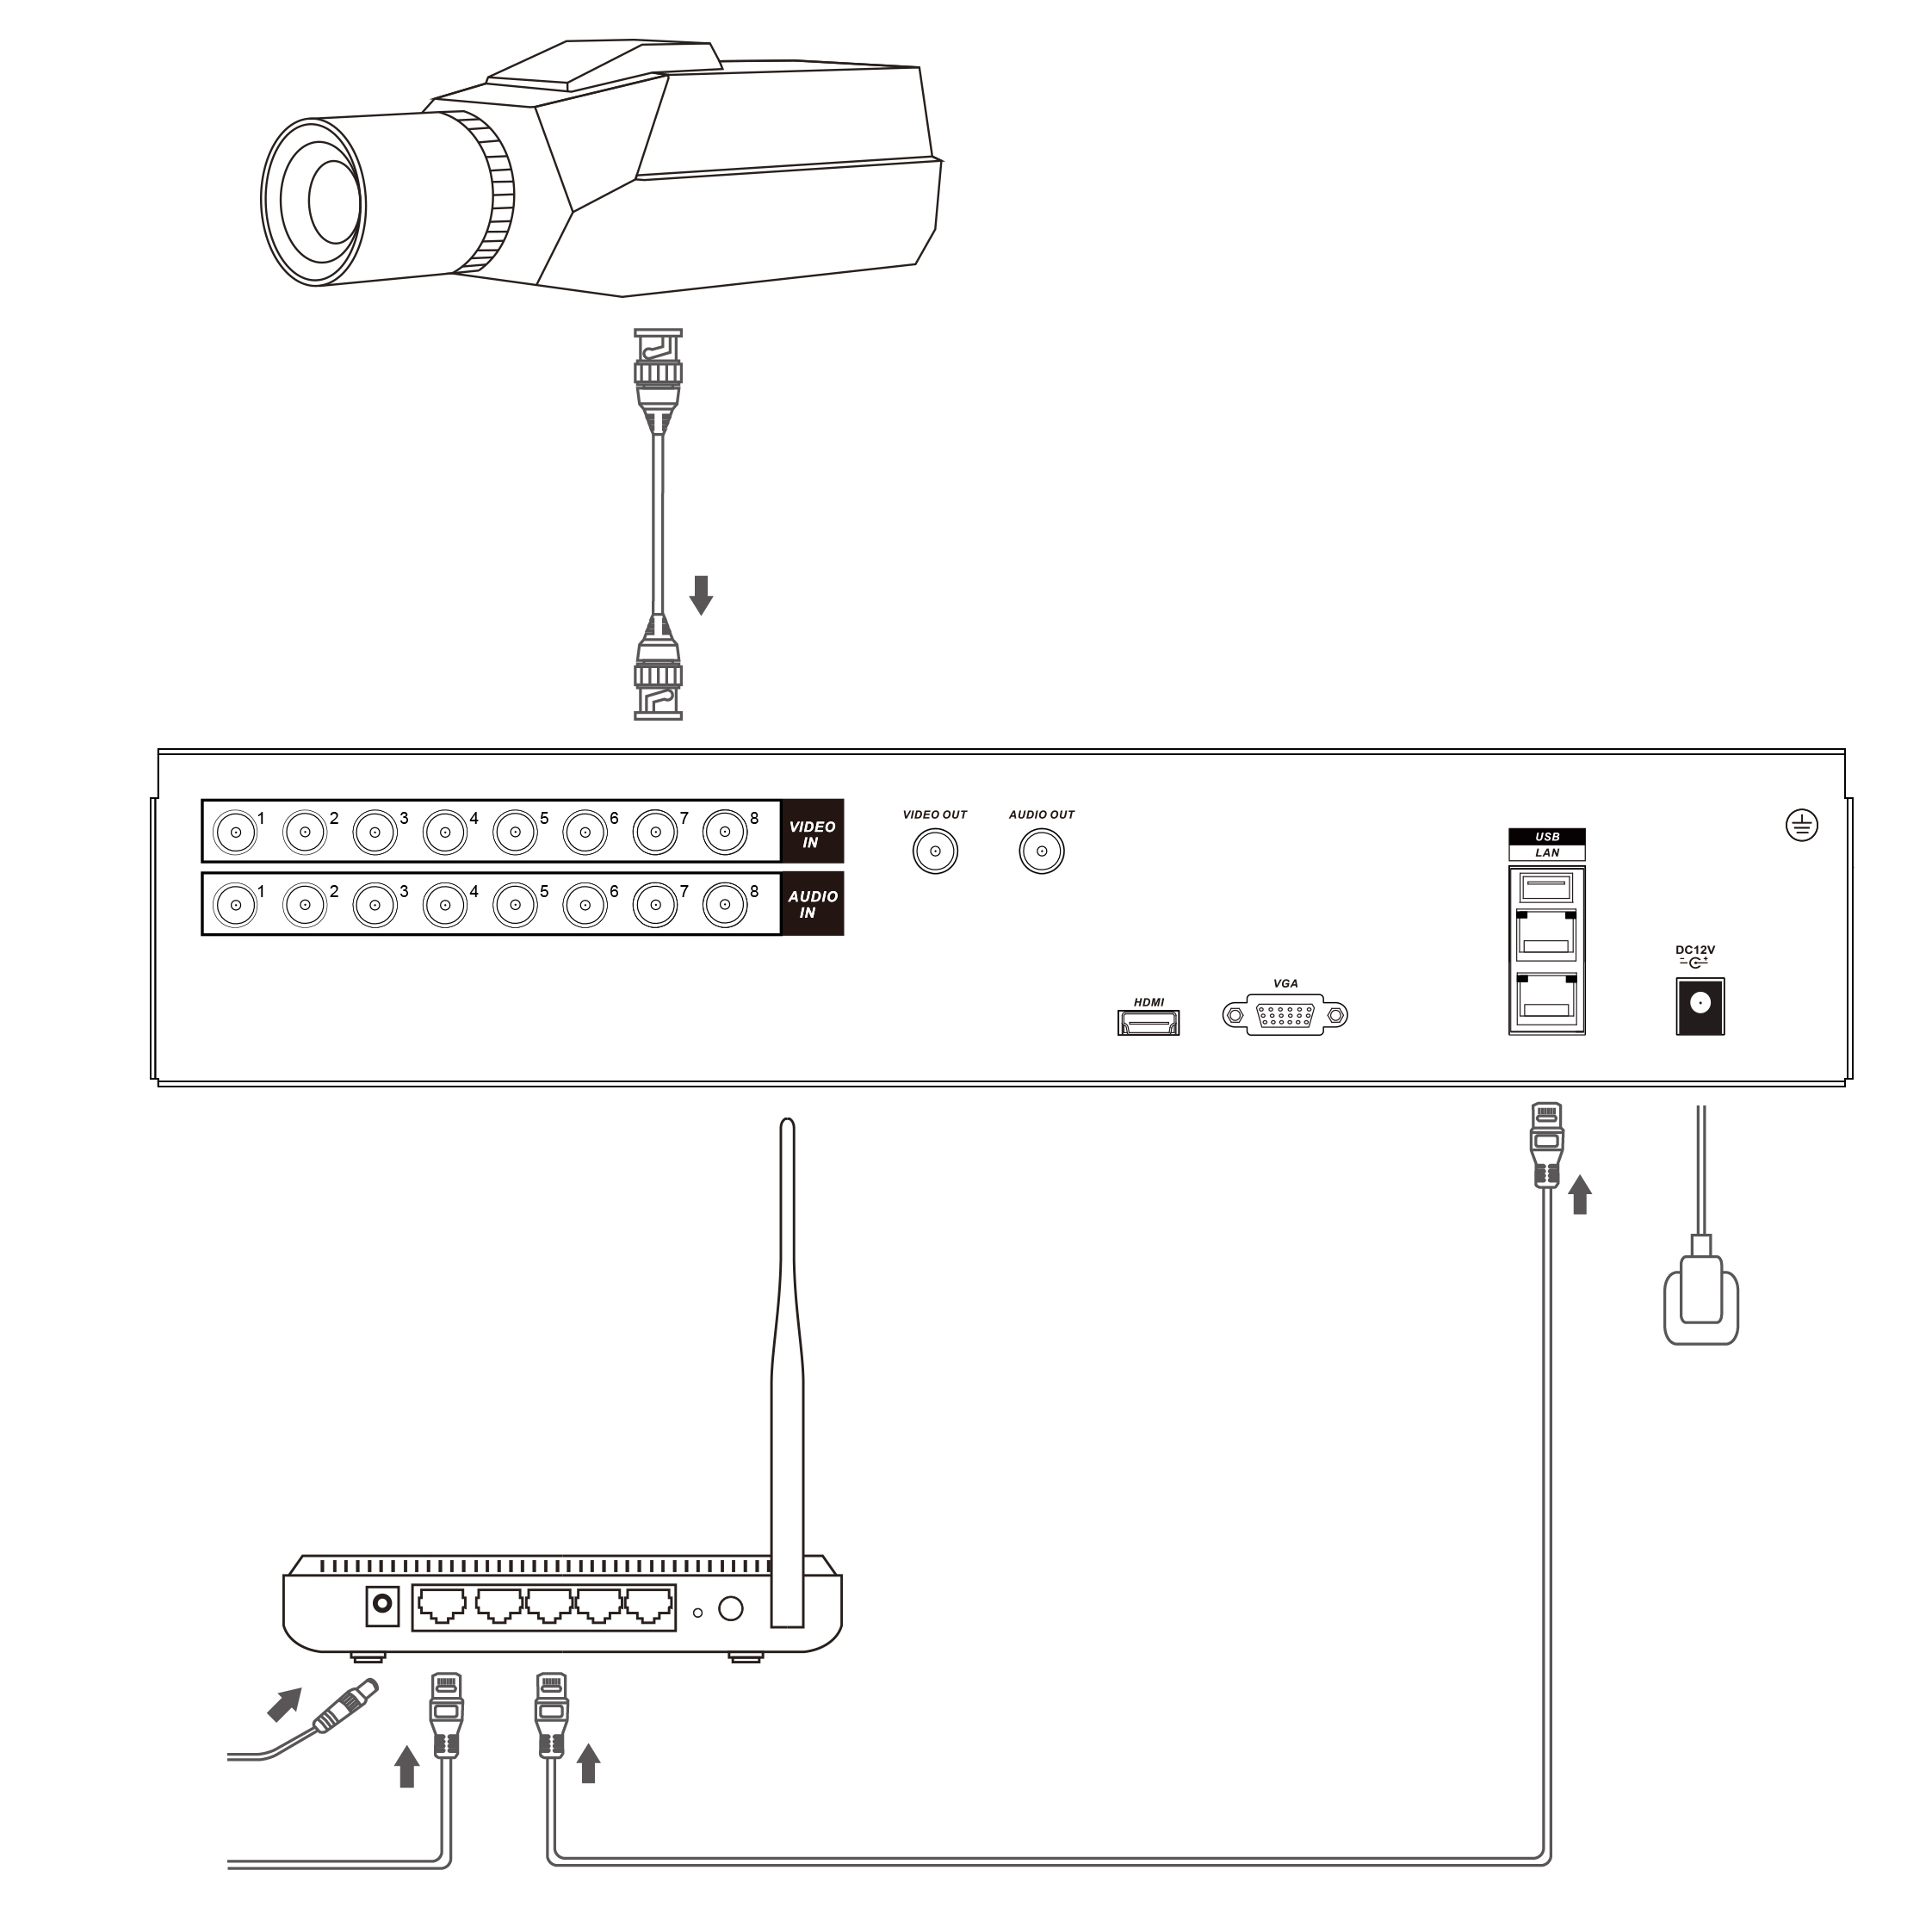
1.3 Digital video recorders (DVR work with analogue cameras)
Operation steps
User Registration
Enter the URL into the browser to login page, click the "Register" button. Complete the registration information form accordingly then click "Register" to finish.
User Login
Enter the URL into the browser to login page, input "username" and "password" then click "Login".
Plug-in installation
1.Check Plug-in
When you login, "My Cloud" will check plug-in.
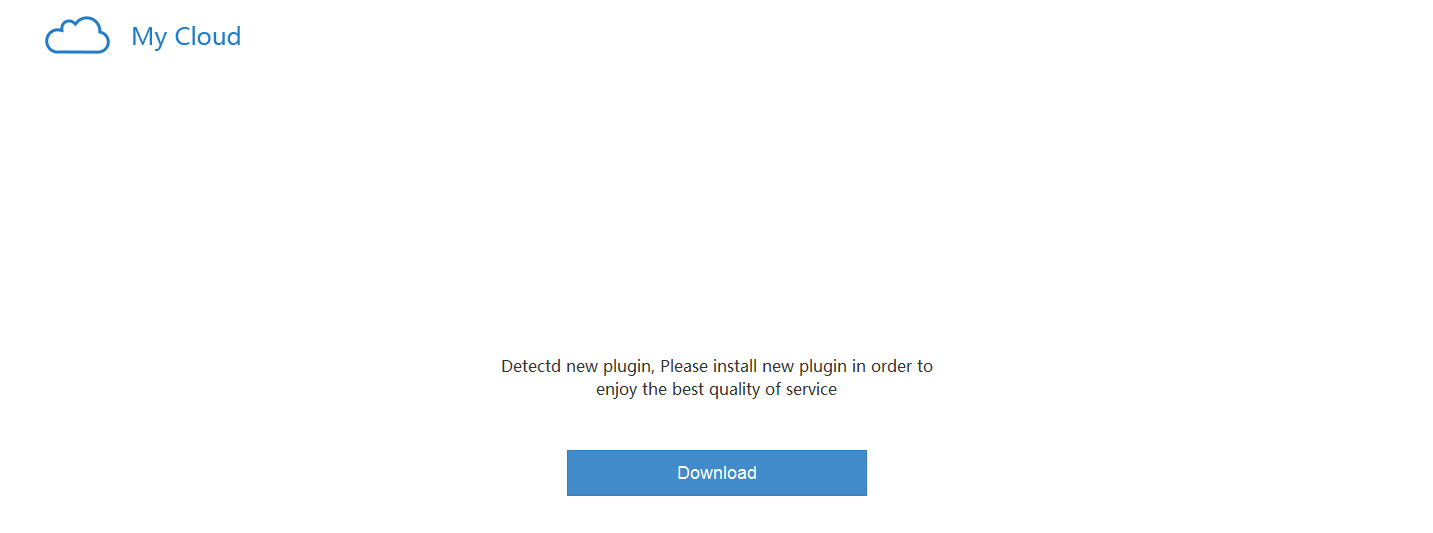
2.Download Plug
If you have not installed the site's plug-in, "My cloud" will tell you to download and install the plug-in.
My-Cloud
1.1 Basic information
Users can view account information, such as IP address, last login time, modifying account information, uploading profile picture, check the list of devices, etc.

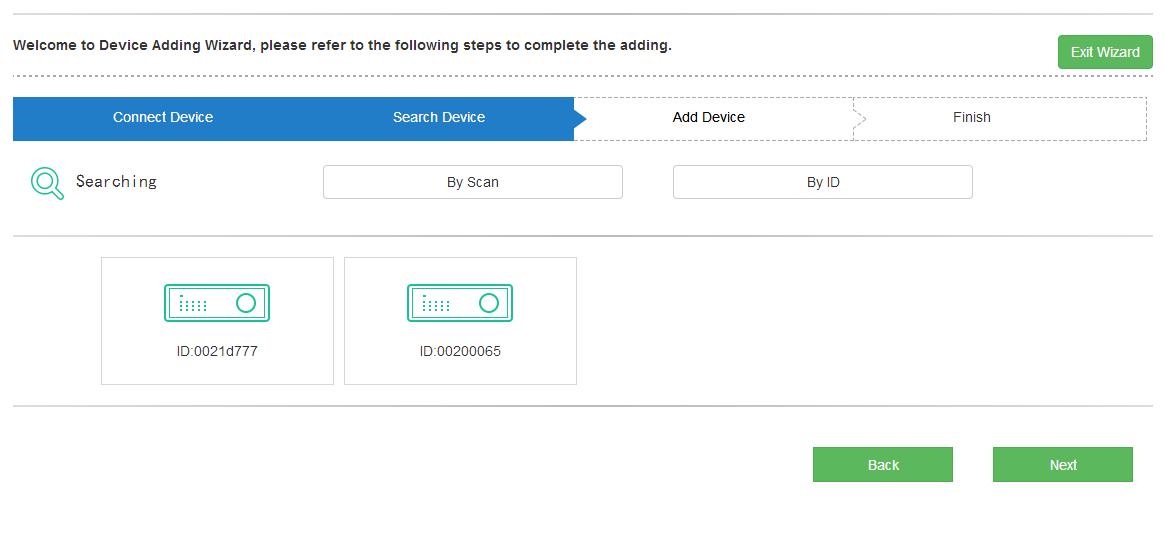
1.2 Add Device
You can add devices quickly.
Tips :
1. Click on the Add Device to enter the Add Device wizard
2. Click I have connected the device! Next Step button to move on;
3. Click the right side Exit Wizard button to exit the Device Adding setup;
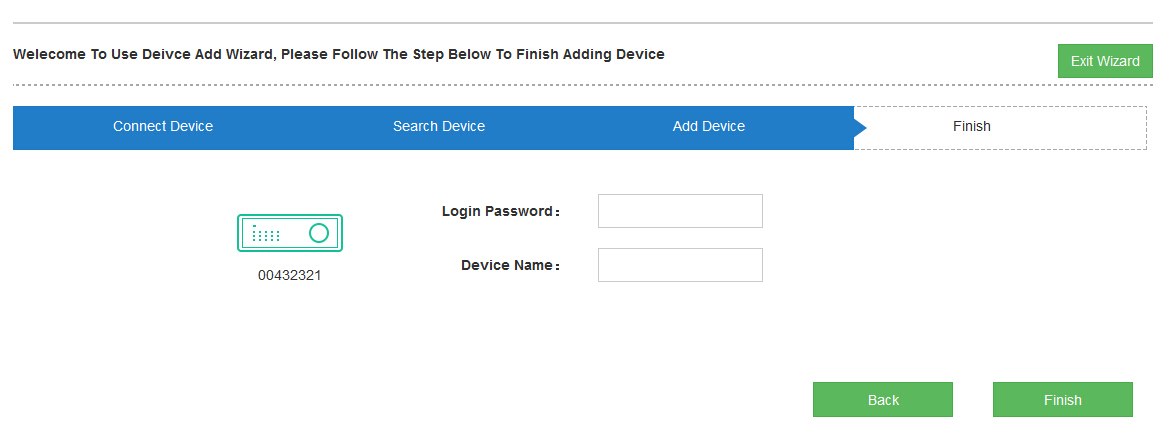
4. Users can add a device by selecting Searching devices or adding the device by equipment ID, device password;
5. Back means to go to the earlier page; and Next means to go to the next step;
6. Input the username, password and equipment name, then click the Finish bottom to complete the device adding process;


1.3 Check Device
If you have already added the device, you will see a list of devices when you login to "My Cloud".
Media
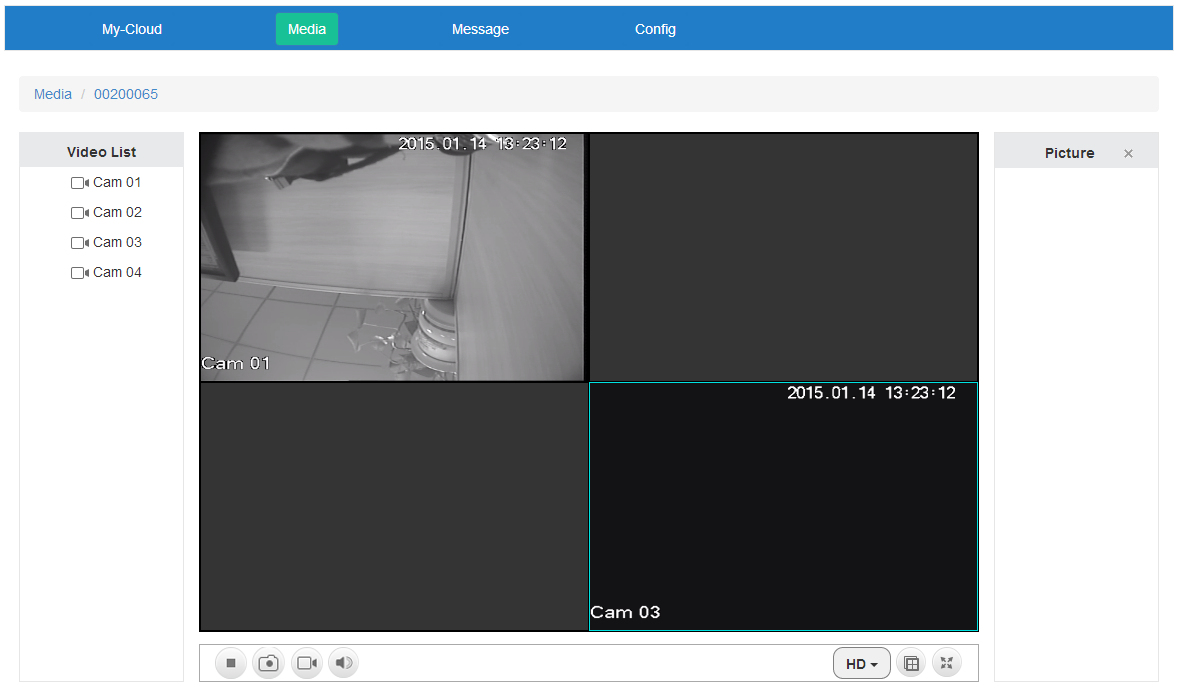
1. Live video
This is where you can check the live video for all devices. Users can check the live video accordingly by clicking the cameras.
1.1 Live video
1.Click on the image  Using the live video interface.
2. On the live video interface, users can select the camera picture quality (smooth, balanced, high-definition).
3. Users can also choose to check the multi-screen mode.
Notes: 1. Users can switch the picture quality only when the devices support this function;
2. Under multi-screen mode, PTZ control functions will be hidden.

4. When viewing live video, click on the button to bring up the PTZ control interface, users can have different views by clicking on the different directional buttons; the center mirror button can flip or invert the screen (this feature is only supported alongside with a PTZ camera).
1.2 Snapshot share
1. In the live video screen, click on the camera thumbnail button to enter the corresponding scene.
2. In live video screen, users click on the button, the captured live footage will display in the right list.
3. Users can share the device in the video library to various social networking sites.
1.3 Start recording
1. In live video screen, click on the camera thumbnail button to enter the corresponding scene.
2. Click on the camera thumbnail button, it will start to record. Click again to stop recording. The recorded video can be stored onto user’s computer.
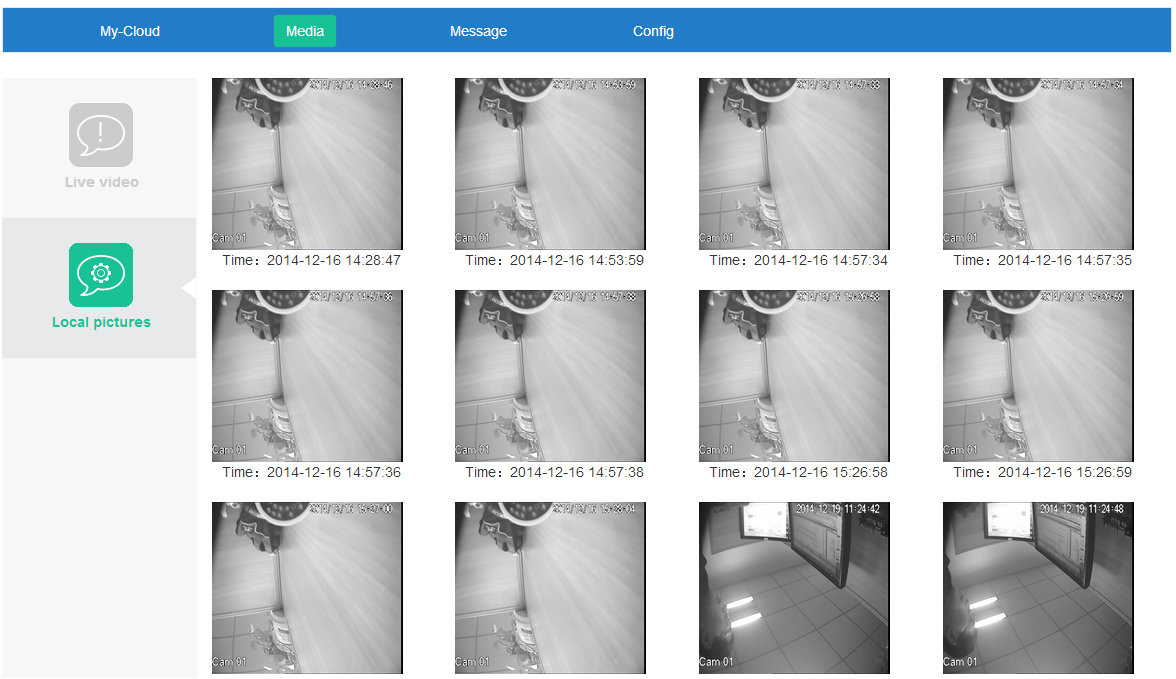
2. Local album
1. My Cloud can take a snapshot picture from the local video, click  to see local snapshot pictures;
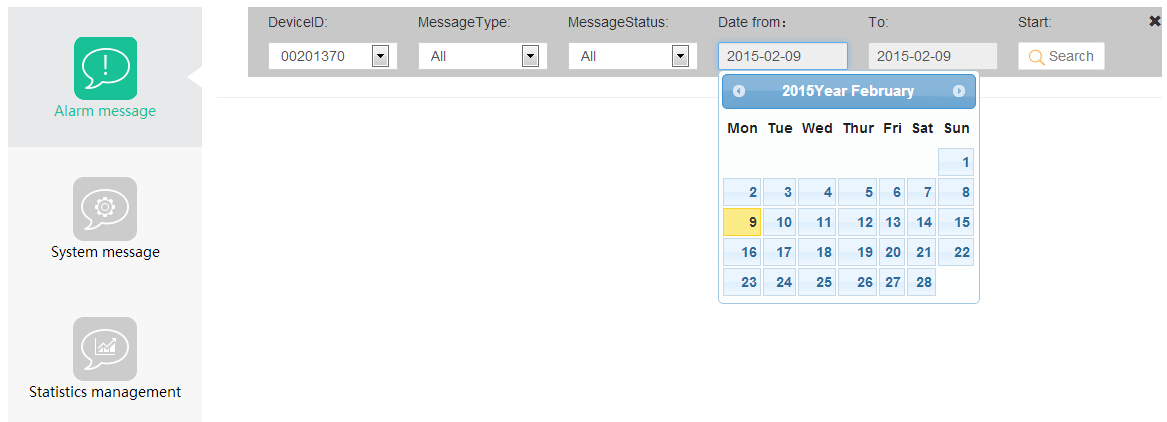
Alarm messages
Here users can view the alarm message history of each device listed on the account (the latest one is displayed at the top), and share the pictures to social networking sites.
1. SignRead This marks your unread messages as read, which will help you to go through your messages more efficiently;
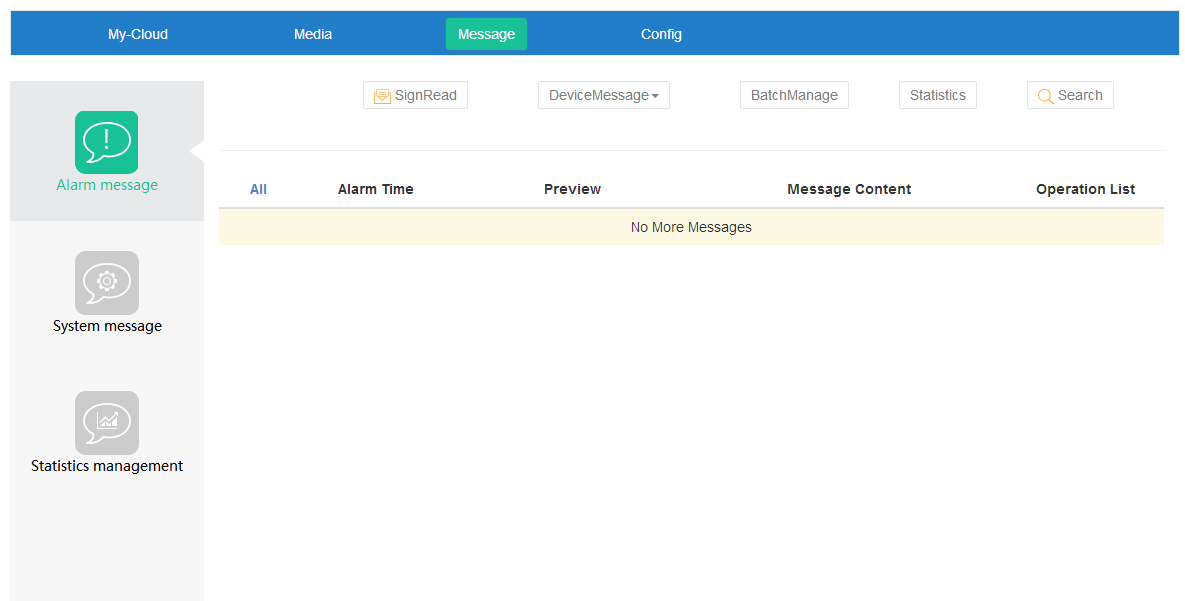
2. DeviceMessage This allows users to check the messages easily by choosing a filter requirement to show all read or unread messages;
3. BacthManage Users can delete alarm messages in bulk and all the devices’ alarm information.
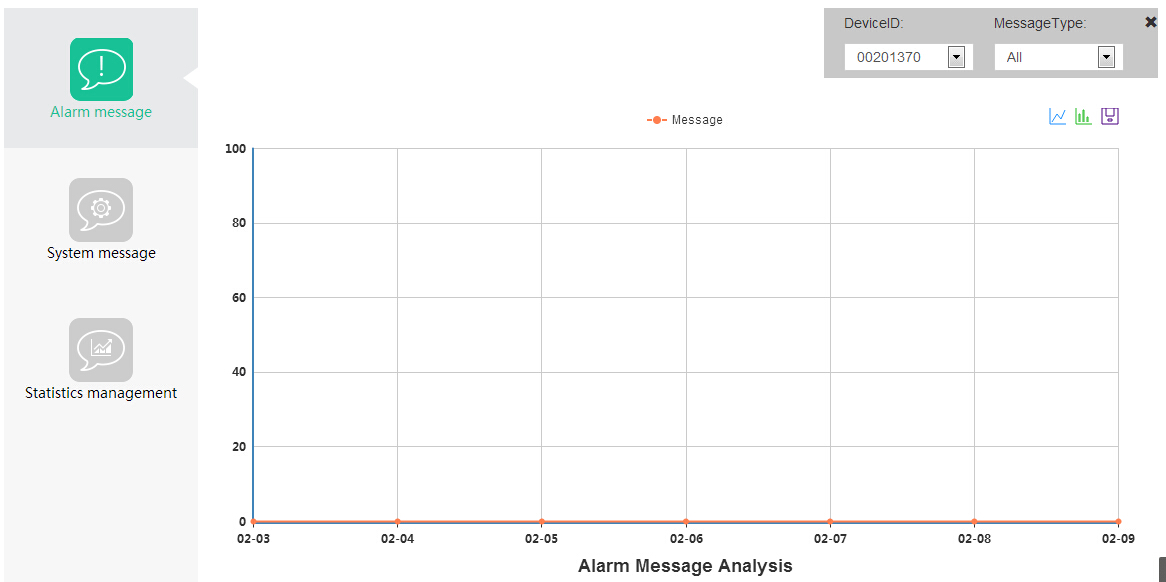
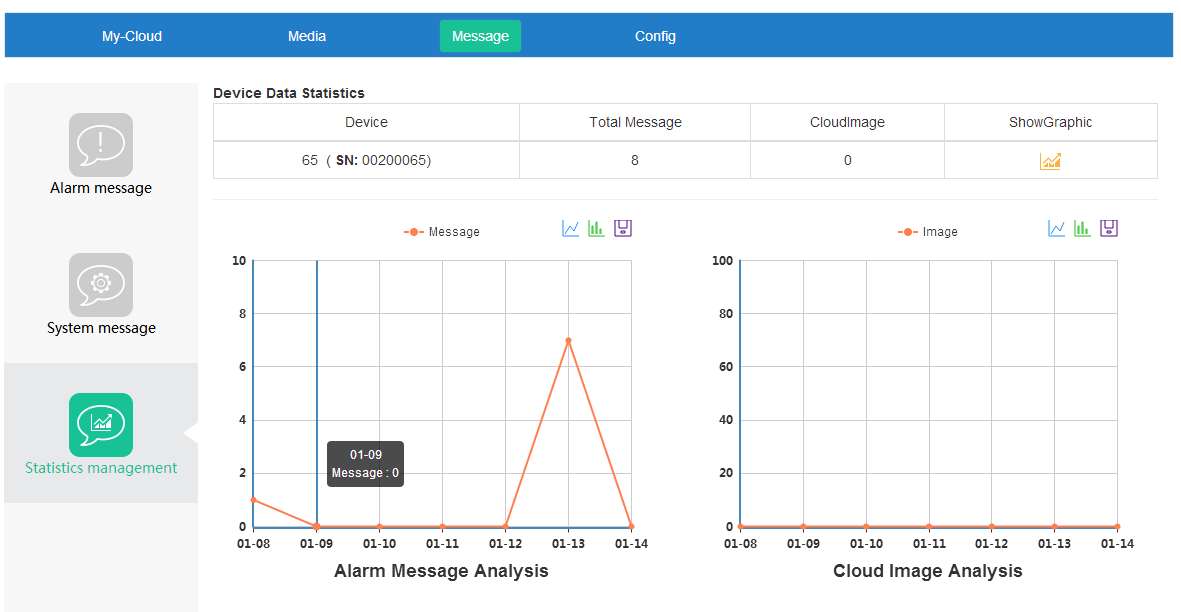
4. Statistics This can count the times of a particular message type by the day or week. The statistical chart can be shown as line chart or tree diagram. And statistical charts can be saved to the local computer for viewing later.
5.Search Users can search the alarm messages within a certain period of time. Enter the camera name, select the time period, the message type, and click on the "Search" button;
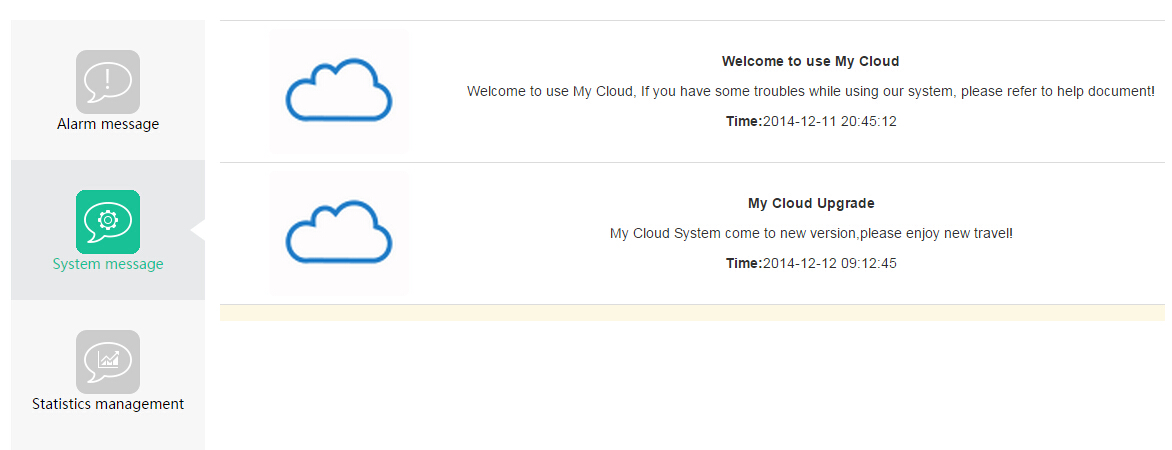
System messages
Users can check the system messages and notifications, and keep in touch with the latest information from the My Cloud!
Statistics management
It shows recent information of the devices from within the account, allowing the user to check the data and take appropriate action.
Configuration Management
1. Device management
1.2 Modify name
Configuration Management> My device, click on the thumbnail to view the equipment details, click the "Modify Name" button and enter the device name, click on the "OK" button to complete the modification.
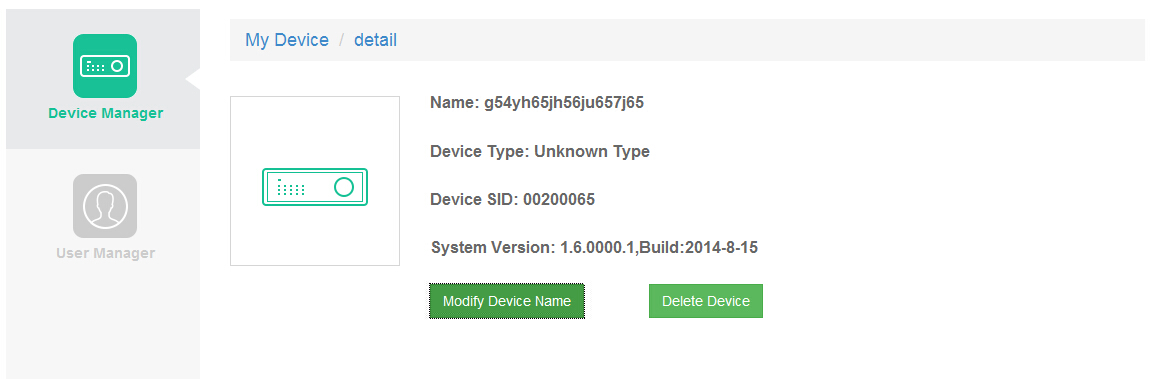
1.3 Remove device
Configuration Management> My device, click on the thumbnail to enter the equipment details, click the "Delete Device" button to remove the device.
2. Account data management
Click  icon to enter and modify the user information
Configuration management> User information management, click the "Account Information" to modify the account information (nickname, real name), and user can upload a picture as profile picture.

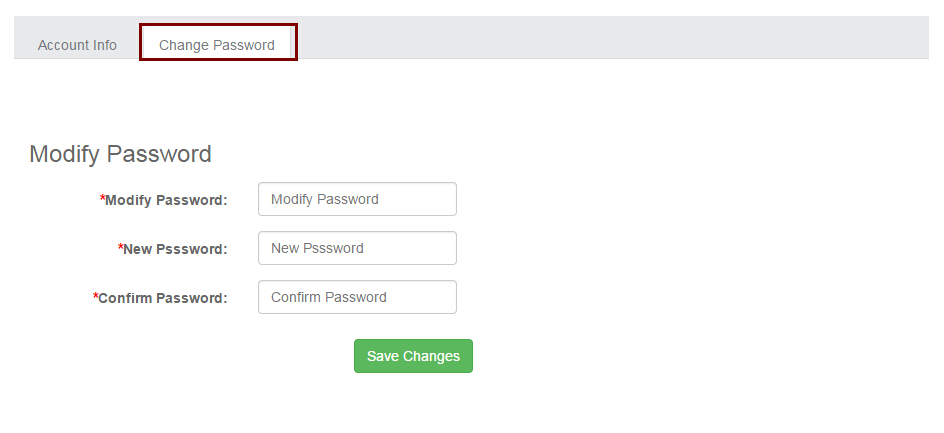
2.2 Change password
Configuration Management > User Information Management, click "Change Password", by entering the old password and new password, user can successfully modify the current account login password.
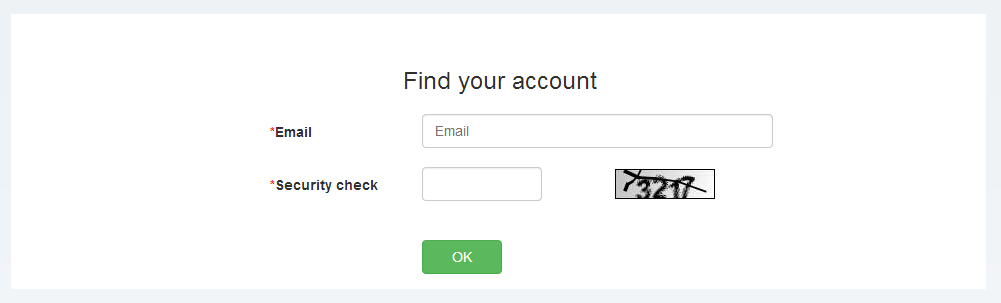
2.3 Forgot password
User can click “Forgot password” to go into Find your account. Follow the prompts to input email and security check, click on the "OK" button to complete.
2.4 Remember password
In Home > Remember your password, you can set to remember your local password, the system default selection is "checked". That is to remember the local device password and to perform a security check every time you login.
User Registration
After installing the mobile client, click on the video icon on and the cloud monitor will be opened. In the login screen, click Register a new account button to enter the registration page.
1. Fill in the phone number: users can fill in a phone number and click 'Get code', fill in the acquired mobile registration code, click Next.
2. Set Password: Set Password page to fill in your password, and click the Finish button to complete the registration.
User Login
After opening the mobile client, enter the login screen, fill in the correct user name and password and click the login button.
My-Cloud
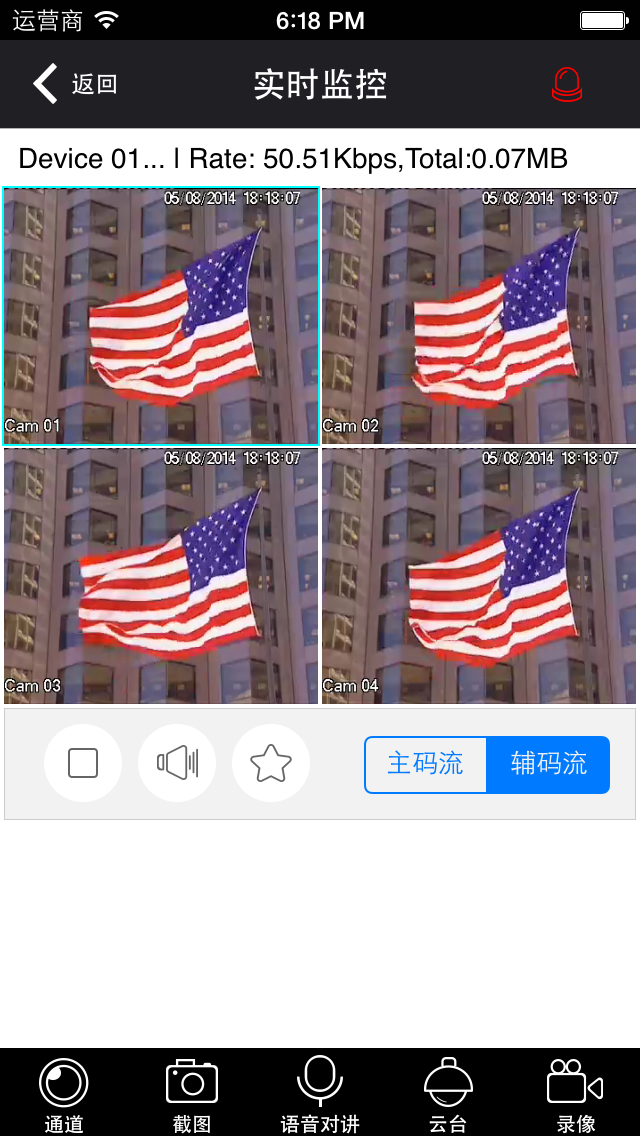
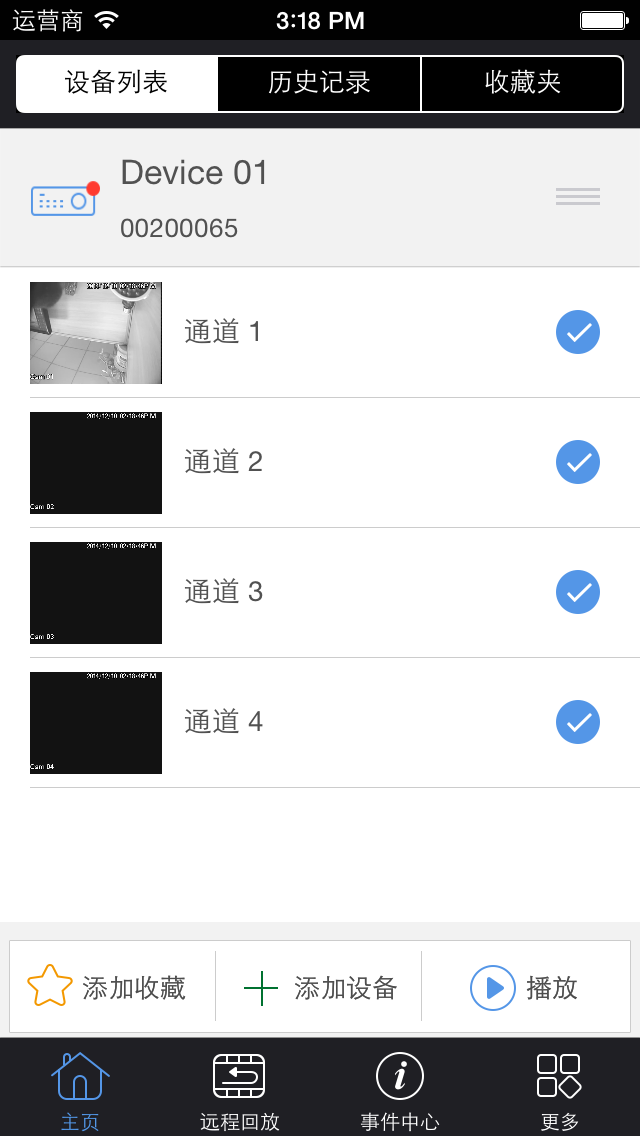
1.1 Real-time monitoring
Tips :
1. In the live video screen, look down the list of devices that will pop up, and click on the different camera thumbnails. The cameras can switched around in the live video playback screen.
2.Picture quality switch must support this feature of your device.
In the my device interface click the thumbnail , check that the device corresponds to a scene in real-time video display. Click on the live video viewing interface button to select the device picture quality (smooth, balanced, high-definition).
1.2 Screenshot Share
Tips: look down my interface update list, by default the latest live video camera picture will appear first.
1.Screen, click on the camera in my thumbnail into the live video device corresponding scene.
2.When using the live video player click  button, and the tool bar in the lower left corner of the image will be displayed within the video, when clicked, you can: :
1.3 Start recording
1.Screen. Click on the camera thumbnail to view the live video device with the corresponding scene.
2.Click  button to start recording, video will be stored to your phone SD card available in More> search image playback.
1.4 talkback
Tips: Voice Talk is only available on certian devices.
In my screen, click Camera thumbnail's video equipment to enter the site's corresponding scene.
Click  button to switch to voice intercom functions. To close the voice intercom, you can click the X button in the upper right corner.
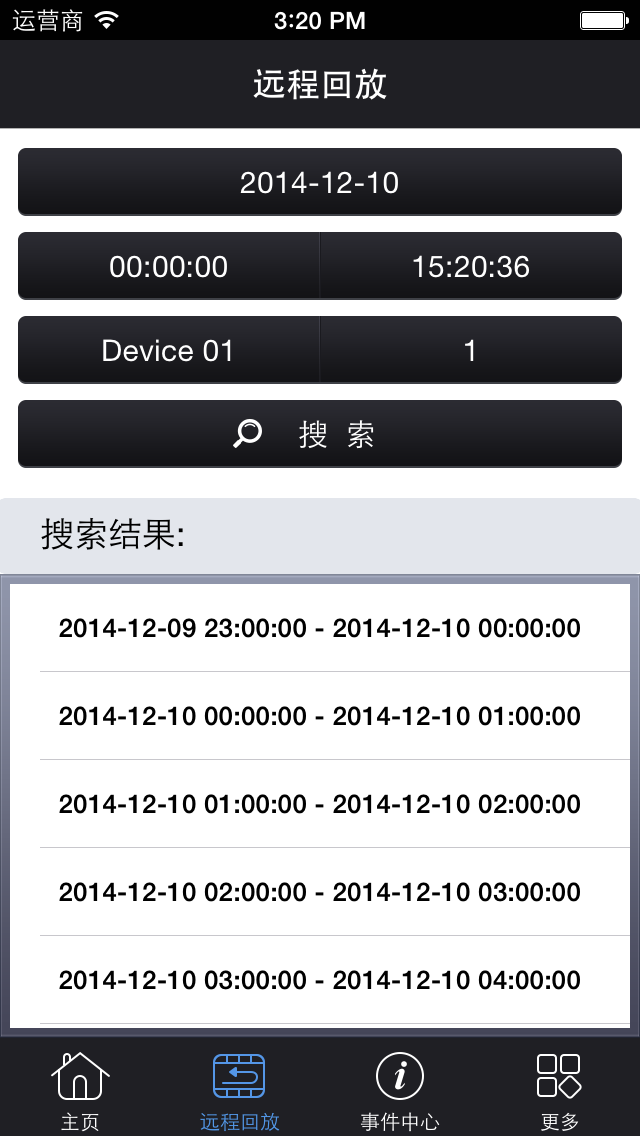
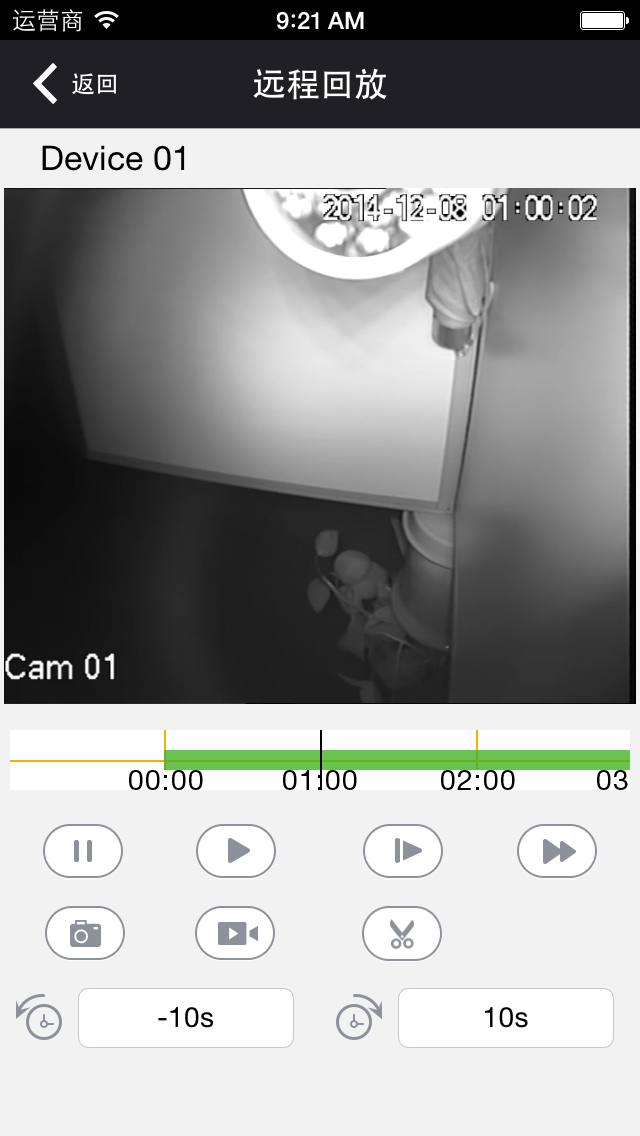
1.5 Recording History
When at home with the remote playback interface, the default will be to set to find videos in chronological order. You can click on the top video search Date Set button or select the device name information for each searched video.
Camera message alerts
Tips:
1.In the news pages, drag them upwards and the history messages will be displayed.
2.In the news pages, drag then downwards to refresh and load new messages.
In the Event Center screen, click on the message in the event message interface. You can view to see if the activity detection is turned so you can be notified and also to delete the event information that can be shared.

Add a Device
1.1 Add a Device
Tips :
1.After connecting your camera, you will need to wait 3-5 minutes for the camera registration can automatically, you can add after registration is complete.
2.Added, the need to ensure that the mobile client device to be added and connected to the network, click Add Device wizard automatically add the device.
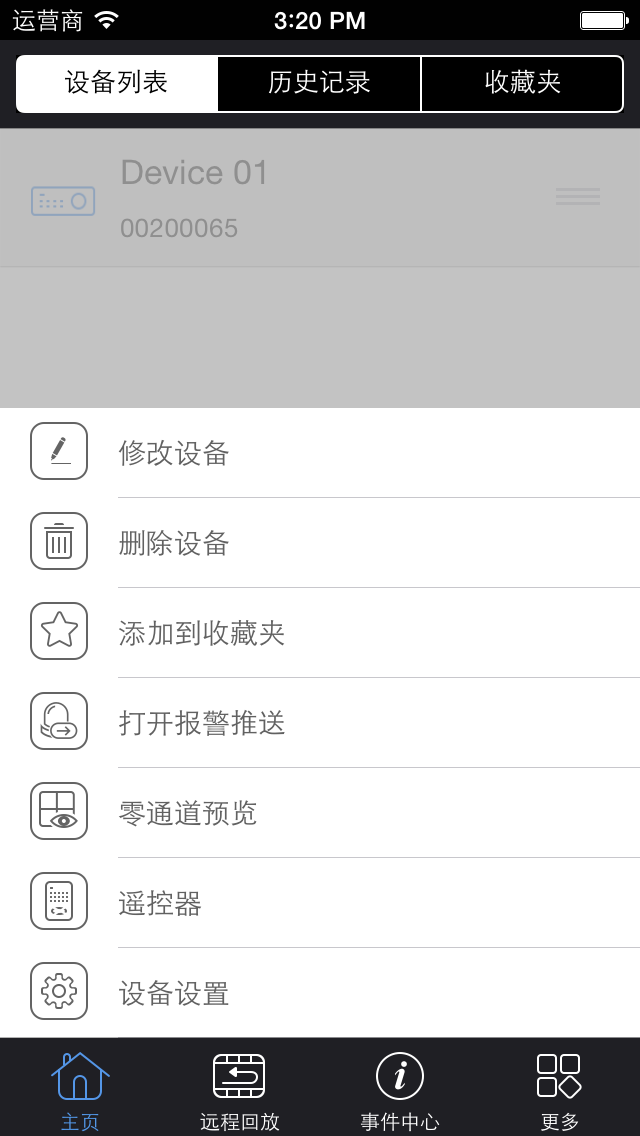
2.1Management equipment
1.Click to modify the device you can use this part of the interface
2.Click Delete Device:remove unneeded equipment.
FAQ / Frequently Asked Questions
Platform issues
1.Q: After the device is connected to the public network, equipment displays "Device is offline".
A:Make sure the network has been setup to connect to the internet; check if the device’s network data and DDNS have changed, if they have then reset the device to its factory defaults.
2.Q: After setting up a wireless network connection, users can not search the device.
A: Please make sure your device and the client are in the same local network, if not, users have to add the device by the device ID.
3.Q: Unable to capture picture, record and other functions
A: If users are using IE browser, users can run the IE within Administration mode, and then try to solve the problem.
4.Q: It displays "Account has been locked out" while adding a device.
A: When adding the device, if you have entered the wrong password when logging into the device, the device will be locked. Users can reboot the device or try again after some time.
